My earliest memory of making homemade bread can go back to my teen years. (Technically, when Beauty and the Beast was released I was no longer a teen. I was a late bloomer so my creative license is allowed.) We (my mom and sisters.) went to Disney World and ate at a restaurant called The Land Grille Room. It was a cool revolving restaurant in the Land Pavilion at Epcot Center. My family was lucky enough to be seated at one of their expansive booths that gave us the best view of the exhibit as the restaurant rotated. (It is now called the Garden Grill and doesn’t look as “refined” or I just remember it fancier.) We were able to enjoy various views of the exhibit AND eat some good food.
Truthfully, the only food I really remember is the bread. (I was still a picky eater back then so I really enjoyed bread.)
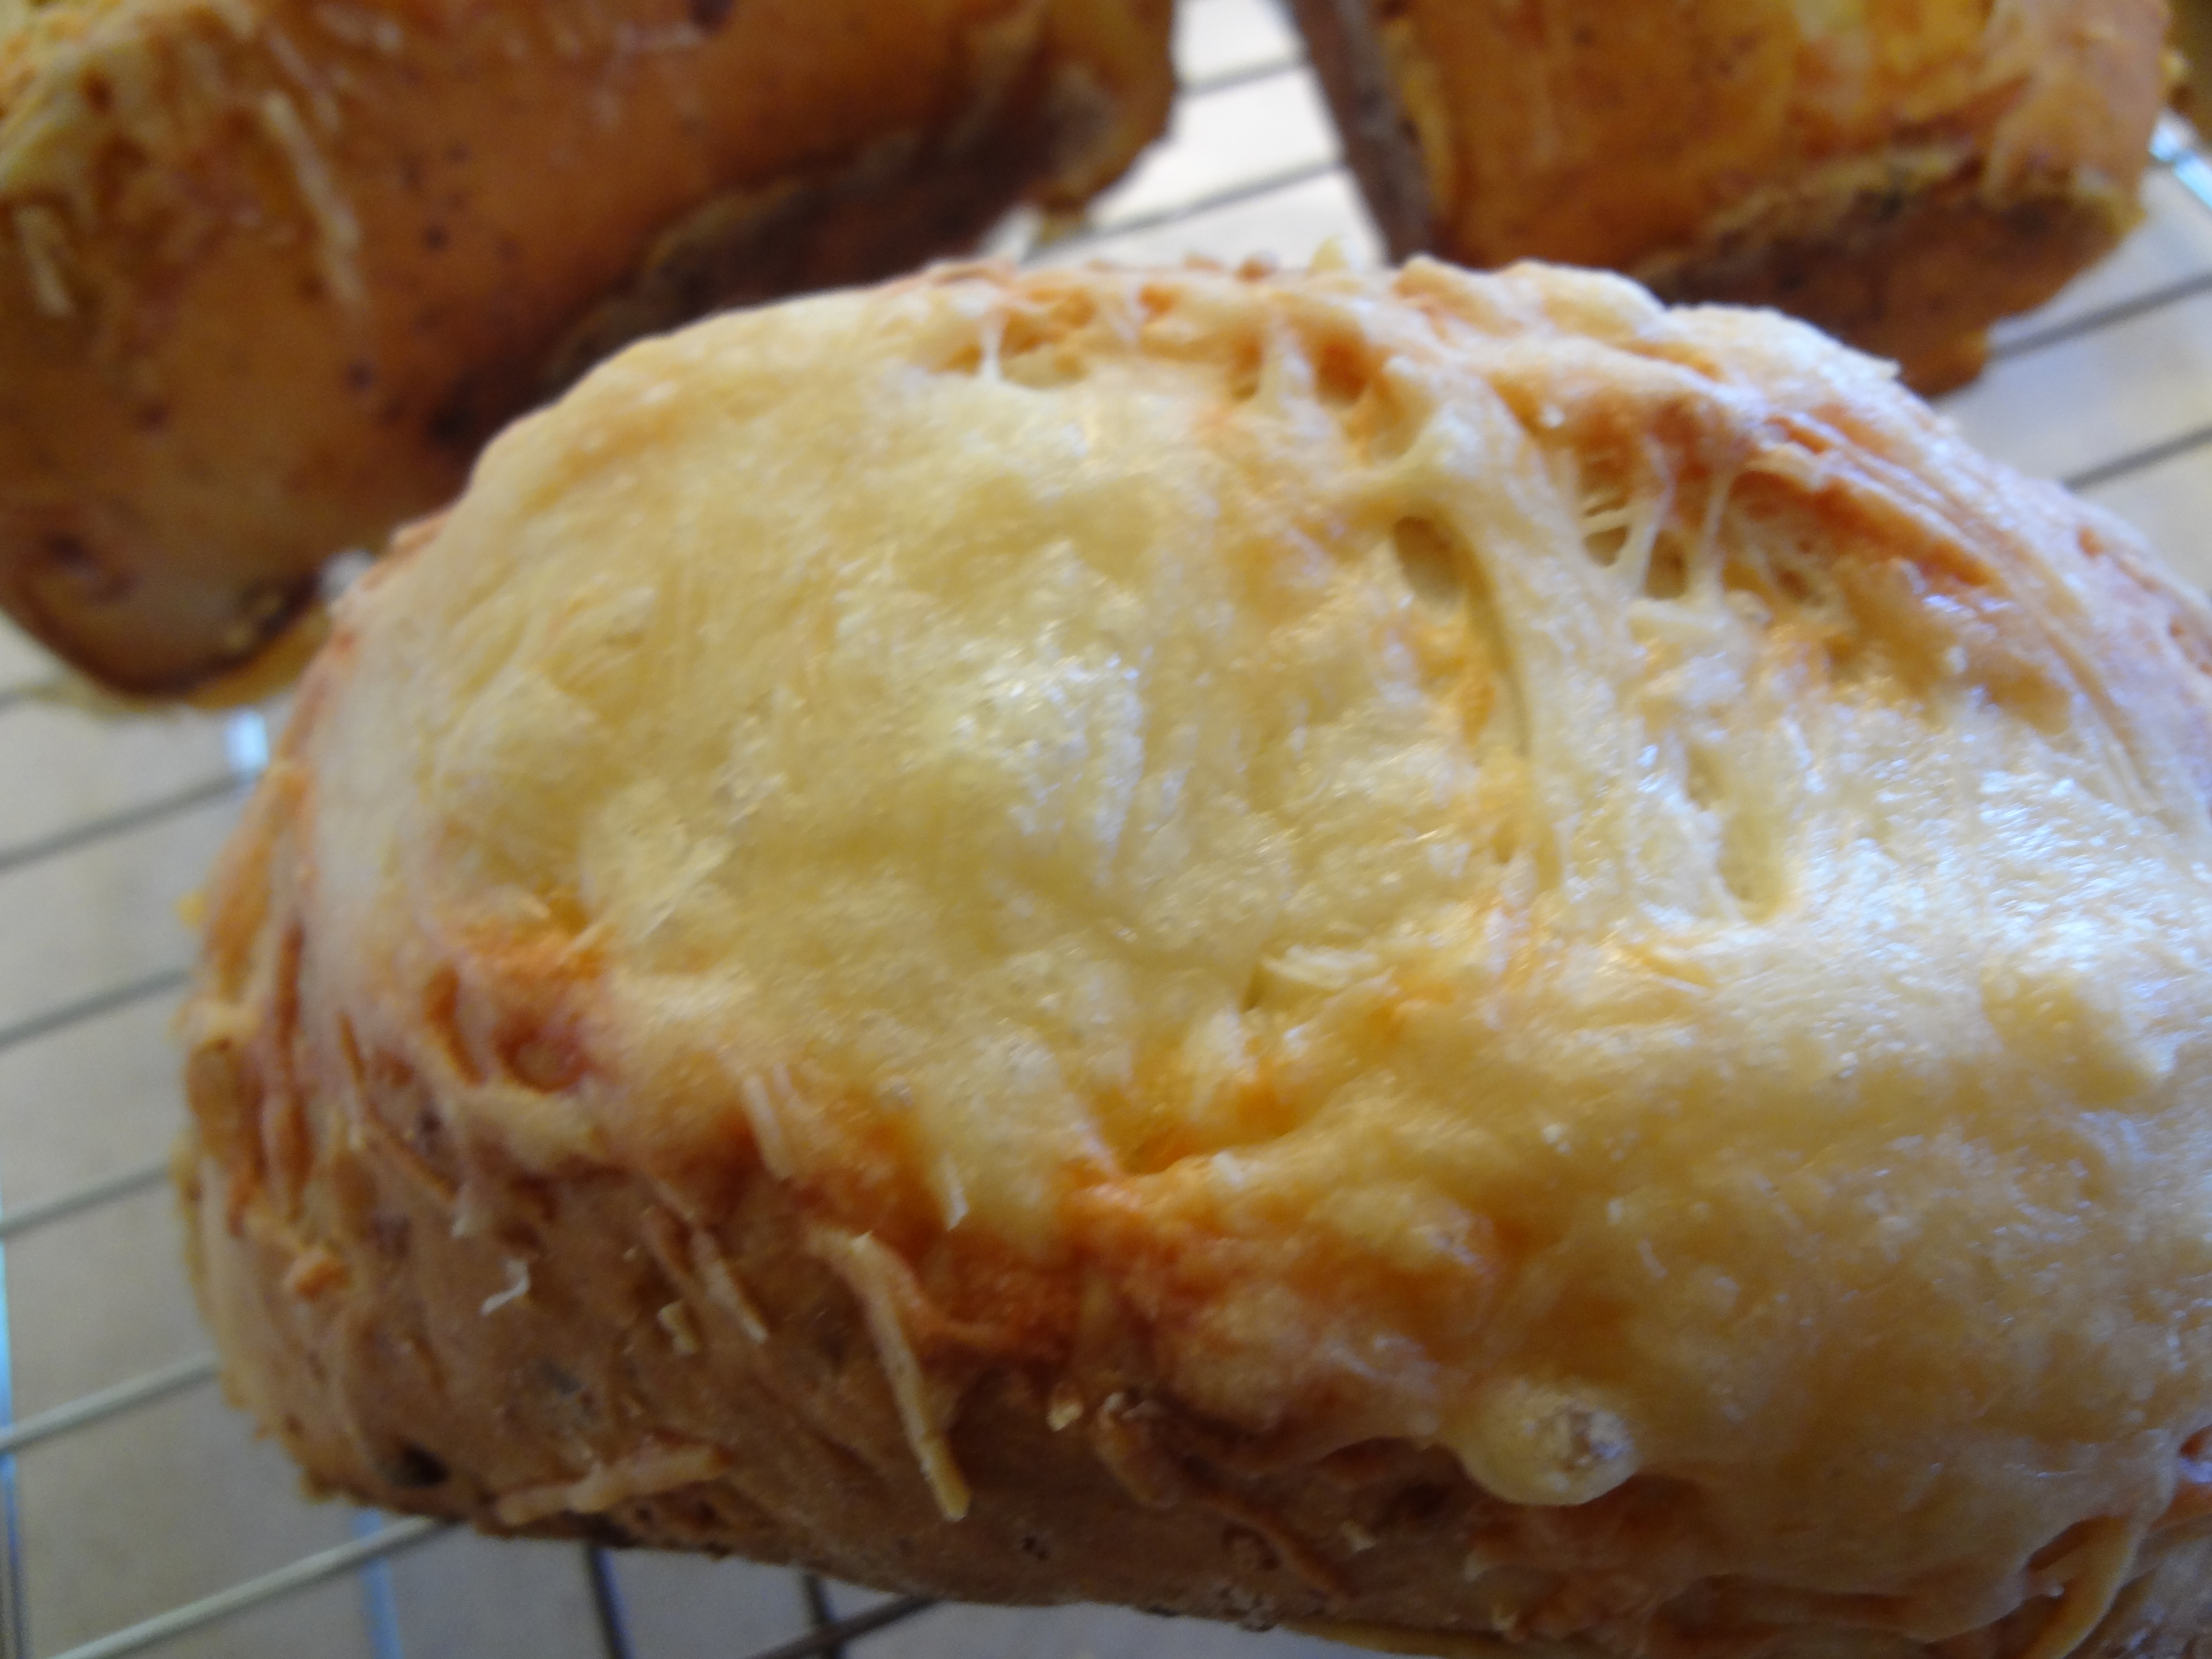
After we sat down, we were all served our own little loaf of cheese bread. (If you have ever tried to share food with my sisters you would know why this is so important to me.) I had never tasted bread so wonderful. It had all the magic that a person would expect from Disney. It was warm and had a crispy, cheese crust on the top. (The only thing that would have made it cooler was if it was shaped like the iconic mouse but once again this was a classy joint.)
Our vacation was a lot of fun but I really wanted to have that bread again.
Luckily, after we went on that trip, I found a cookbook that had the recipe. I was thrilled that I could recreate the taste that was imprinted in my memory. (To get the full effect, I twirl myself silly on an office chair, grab a piece of warm bread and stand in the backyard. Not a true Land experience but it’ll do until I get back to Epcot!)
My Version of The Land Grille Room Cheese Bread
Ingredients
3.5 cups of bread flour (you may use a little more when kneading)
1.5 Tablespoons of sugar (divided)
1 ½ tsp sea salt
1 cup warm water (110-120 degrees)
1 package of yeast (about 2 ¼ teaspoons)
1 egg, beaten
3 Tbsp butter, melted
1 ¼ cup shredded Swiss cheese
¾ cup FRESHLY grated Parmesan cheese (Okay, I have cheated in the past and used the bottled stuff.)
Directions
Heat water and check temperature. (The water, not yours.) Sprinkle about ½ Tablespoon of sugar in the water. (This will feed your yeast.) Add your yeast and give it a quick swirl with a spoon. (You don’t need to stir it in, just one swirl will do.)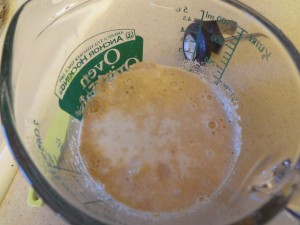
Now LEAVE IT ALONE! If your yeast is alive, you should be able to come back in ten minutes and see little bubbles and it should look a bit frothy. (It may even smell a little like fresh baked bread already.)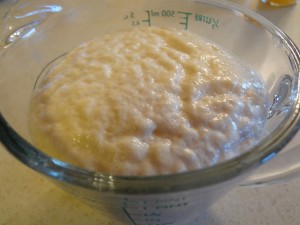
If you never get bubbles or froth, your yeast is dead!!! (I’m so sorry to break the news to you this way.) This is one reason I always have extra yeast in the house.
Meanwhile, in a large bowl (or use your kitchen aid with dough hook), add 2 cups of the flour, the remaining sugar, and salt.
SLOWLY, add your bloomed yeast and 2 tablespoons of the melted butter. Mix until your dough forms.
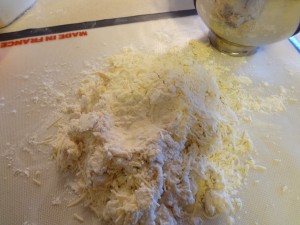
Add 1 cup of the Swiss cheese, ½ cup of the Parmesan cheese, egg, and one more cup of flour. (This is the point that I turn out the dough on a floured board and knead it by hands. I usually end up kneading in another ½ cup of flour.)
Your finished product should be lightly sticky. It won’t ever get completely smooth because of the cheese.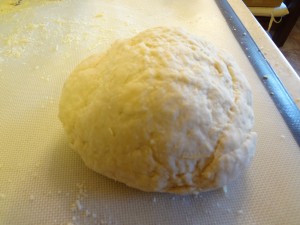
Place the dough in a lightly greased bowl, turning it once to oil the surface. Cover with plastic wrap (I spray my plastic with “Pam” so it won’t stick to the cover when it is rising.) Leave it alone for another 20 minutes.
Punch down the dough and knead a few more times. Divide into fourths, cover and let rise for another 15 minutes.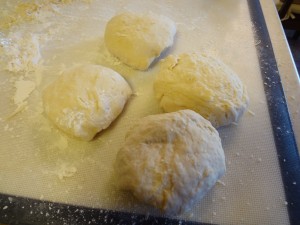
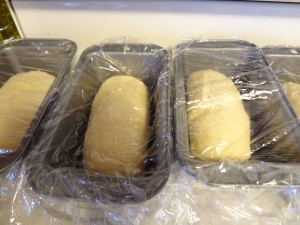
Roll out each pieces starting with the smallest end. Press all the ends in to seal and fold under the loaf. Place in 6 x 3 pans seam side down, cover and let rest 50 minutes. (They should double in volume.)
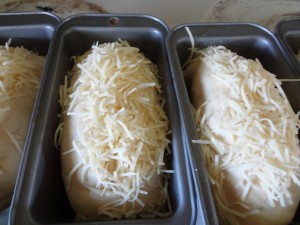
Using a SHARP knife, make a deep slit lengthwise on top of each loaf and sprinkle with remaining cheeses.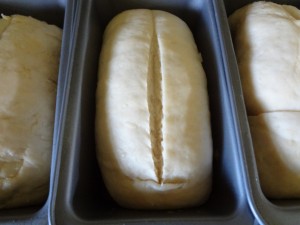
Bake at 375 for about 25 minutes or until golden brown. (I usually check on them at 15 minutes.)
Remove from pans, brush with melted butter and allow to cool.
I am far from a baker but this is one baked item I love to make. There is a beauty to a freshly baked loaf of bread. Just remember to “bloom” your yeast and it will turn out perfectly! (I tried to add extra pictures today so that you could use it as a reference.)
Tale as old as time.
True as it can be.
Dough will never rise.
Let your yeast survive, beauty of blooming yeast.
With these instructions, even a goof like me might be able to make bread. just need the tools. remind me to get a dough hook for my kitchen-aid…..wait, I might have one. I do, I do! OK, remind me to buy yeast. Yeast scares me. I don’t like being responsible for killing those little creatures.
I will try, with your coaching, I will try to make bread. hooray.
Then you can BE MY GUEST, be my guest, put my service to the test! (maybe you can spin on a chair in MY back yard-haha) LOVE
With the exception of using dead yeast in my early years, this recipe is pretty hard to mess up. It makes a wicked panini!! : )
I love the step by step pictures. I really want to make this bread now! Looks delicious! And that bread from Disney will never leave my memory…I hope I can recreate it!
Another really great, clever, blog read and recipe! Loved it! 🙂
Glad you are back home and catching up!!!